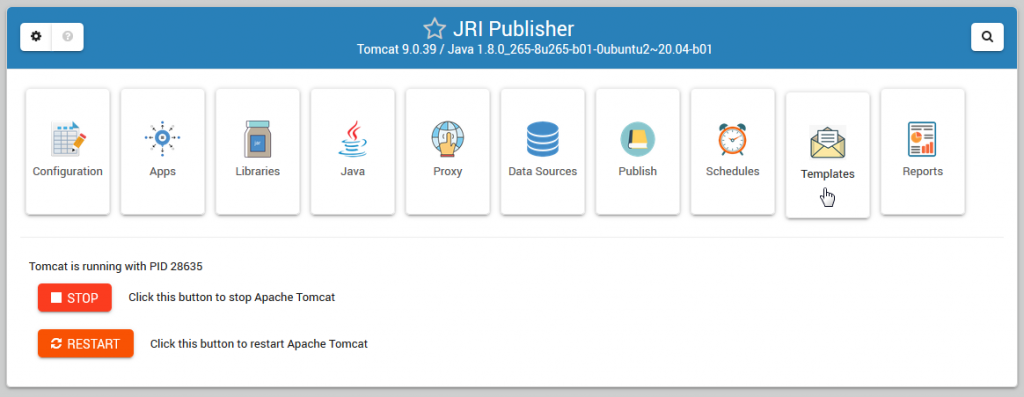
I’ve released JRI Publisher 2.6.2 for the new JasperReportsIntegration 2.6.2
Some new features have been added to JRI Publisher:
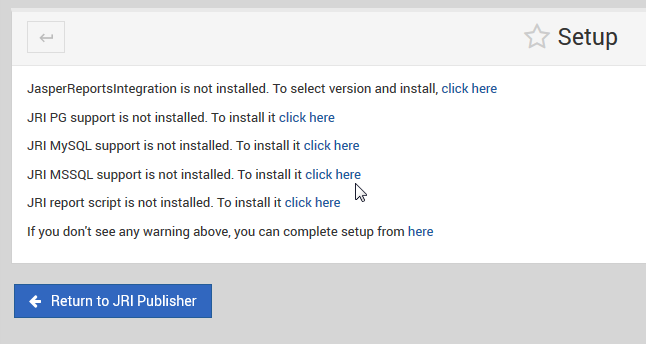
- One-click installation of JNDI support for PostgreSQL, MS SQL, and MySQL.
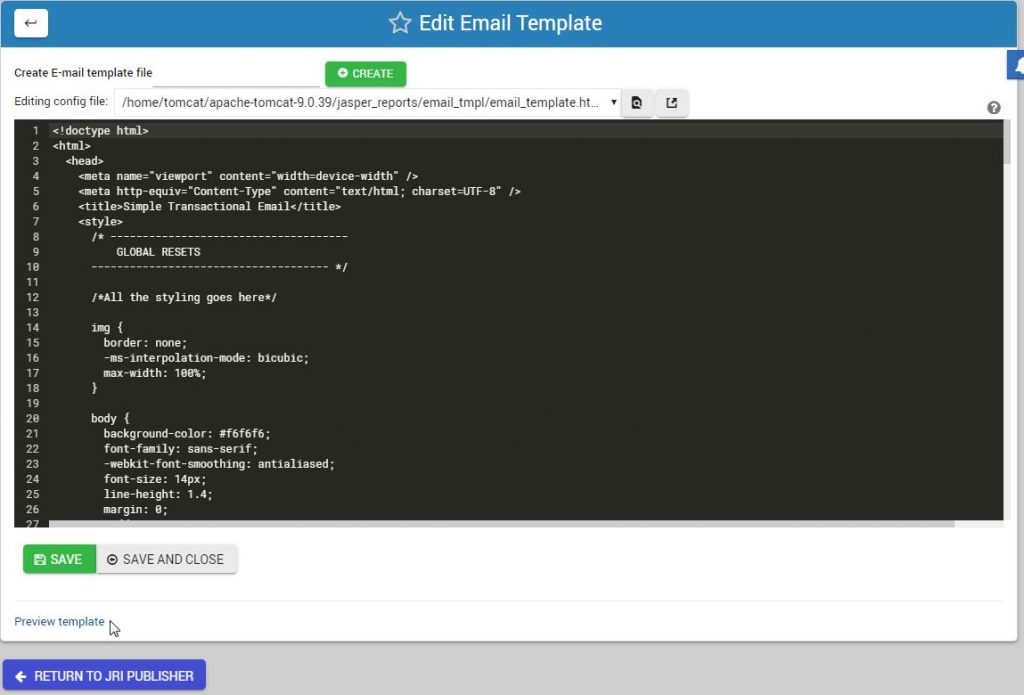
- We’ve incorporated Responsive HTML Email Templates from Lee Munroe. You can now create and select HTML emails to accompany your reports.
- Bug fixes
JNDI Set Up
Email Templates
JRI Publisher: https://github.com/DavidGhedini/jri-publisher
JRI Publisher Docs: https://jripub.davidghedini.com/en/latest/